If you’re an office furniture buyer, you’re unquestionably familiar with the Teknion brand. Teknion is one of the most popular furniture brands, especially amongst companies seeking sleek, modern artistry; smart often customizable designs, and modular workspace options. Teknion is known for innovation and delivering designs that integrate seamlessly within any architectural style and work culture.
Among office furniture installers, Teknion is known for style, quality, and a higher degree of installation difficulty than many other office furniture brands. As the adage goes, “Practice makes perfect!” With 40 years of experience, Houston Installation Services and our top-notch team has plenty of experience working with all of the major office furniture brands, including Teknion. After years of trial and error on our way to achieving mastery, we’ve learned a lot about Teknion furniture installation. We’ve decided to pay it forward with the following punch list of tips to help you install Teknion office furniture.
These tips are a great addition to your project checklist! If you don’t have an existing office installation checklist, you can use our FREE guide for office designers and furniture dealers.
Tips for New Installs of Teknion Office Furniture
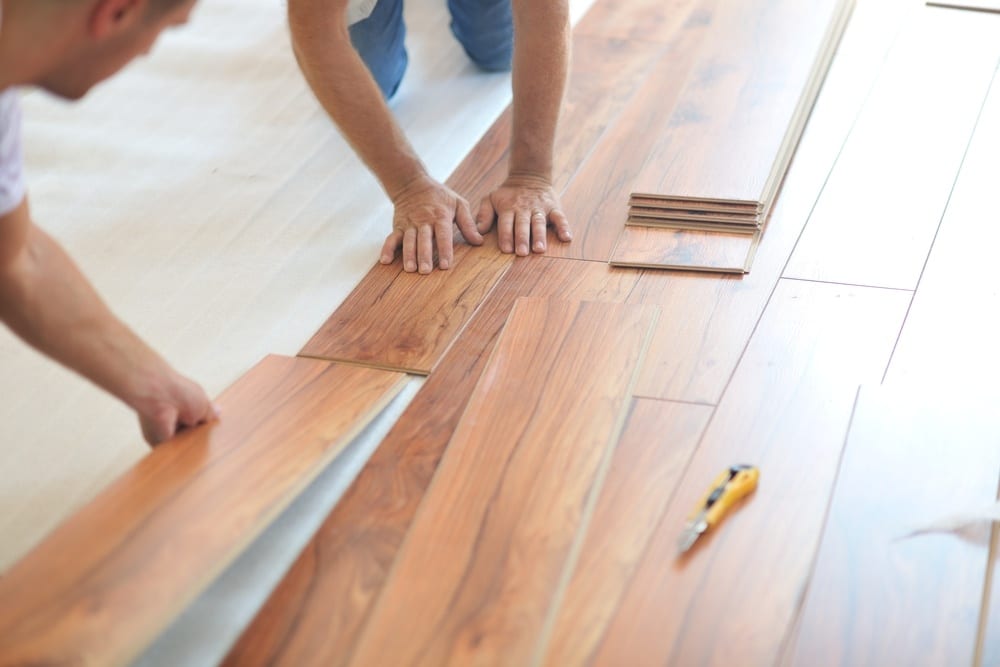
- Before you do anything else, open and check all of your boxes and organize like components. Teknion always mixes product together in the same box. Sometimes it makes sense, and other times not so much. For example, don’t be surprised to find receptacles in the same box as tiles. Some boxes come with multiple packing labels attached, which makes sorting the products a bit easier.
- Be very careful to make sure all panels are aligned with each other while you’re installing a piece of furniture. If not, the overheads and work surfaces will not line up and you will have to disassemble the furniture piece and start over.
- Power tiles are made to rotate; non-power tiles are not for placement of electrical outlets (beltline or base).
- The bottom connector pieces are meant to be used only for three-way connections (to stabilize the three-way cover at the bottom.) If you install the bottom connector pieces in four-way or 90-degree connections, you will have to disassemble the panels, remove the connector pieces, and start over. (This is a common and frustrating mistake during Teknion furniture installation!)
- Use one bolt per panel on 90-degree and three- and four-way connections. (NO BOLT is needed on straight connections.)
Tips for Reinstalling Teknion Office Furniture
- Always keep track of your tile clips, hinges, and all hardware. It’s very easy to lose or damage these clips during tear down if you’re not careful. The same is true with boulevard hinges, which often get torn during tear down.
- If you’re re-installing Teknion office furniture, that’s the ideal time to switch out dirty or damaged panels or tiles with new ones. You may be able to save dirty or torn panels for use against a wall or in an inconspicuous area where the damage won’t be visible.
If you’re not experienced and educated on the job at hand, installing any type of office furniture properly and without damaging it can be a daunting task. A Teknion furniture installation is especially challenging for novices. If you need to install Teknion office furniture in the future, we hope these tips will be helpful! If you’d prefer to outsource the job to the pros, request a quote from Houston Installation Services. We are pros and happy to help!